Dual Battery System in a 1998 Subaru Legacy Outback
So this all started when I went to the drive-in movie for a double feature with my wife and newborn daughter. I'd been there in the past and I'd always taken care to start the car between flicks and ensure that the battery wasn't depleted. This time, I don't know if I just forgot or if I was too lazy to think about starting the car between movies. I don't think it dawned on me that I'd been running the stereo off the battery for close to 5 hours.... Well needless to say about 3/4 of the way into the second movie the car died... I had to make the embarrassing walk over to the concessions counter and borrow a jump box, then I had to go with the attendant, open my hood and jump my car while other movie goers looked on. After that I just left the car running and watched a few more minutes of the movie. Unable to relax again I just packed up and left before it was over...
It wasn't so much that the car battery decided to die at a drive-in movie, where help was only a few hundred yards away, it was the thought of me out hiking in the Olympic mountain chain with my wife and baby, not seeing any other hikers or cars the entire time and then finding my battery dead, or worse yet, my battery dead and my alternator dead as well!
So now the logical chain of events takes place,
When your car battery dies you look at a jump start box...
When you look at a Jump start box, you realize that they aren't always reliable...
When you realize that they aren't always reliable, you look at other alternatives....
A dual battery system is an overly redundant system for your car, properly installed it's doubtful that you will be ever be stranded from the common "dead battery" issues. The original Subaru Outbacks were not designed with the plethora of electronic gadgets we use nowadays in mind. the battery is designed to start the car and run a small electrical system. Running my GPS, phone charger, IPOD charger, stereo, A/C, and headlights is taxing on the little system, and a dual battery alleviates some of this burden.
Disclaimer: I'm not an electrical engineer, I know the basics about electronics, and I don't have any more training than your average high school auto mechanics student. I did minimal math homework for this project and even less theory based planning. I built it the only way I know how, simple, direct and heavy duty. You can do this project, but know this before you begin, this is a simple project (No I didn't say easy!) you will curse your project and you will go over budget before it's all over. I warned you!
So I had a few options that I researched, (knowing only the basics of electronic theory)
Jump start box - The cheapest/easiest option, These are the portable battery boxes that you can buy at anywhere from Walmart to Advance Auto, it's just a small battery that you can use to jump your dead battery. Simple and effective... when they work. If you forget to charge them, leave them out in frozen weather, or forget to pack them (they also take up precious cargo space inside the car), you'll be stranded. At about $130 for a reliable one, you can use this option, just make sure you do your part and ensure that everything is OK before leaving home.
Parallel Batteries - Hook up two batteries in parallel and put an on/off switch in-between, the batteries need to be the same type, same age, and you can't let one battery die or it will suck the life out of the other one. Also you need to turn the switch every time you get in the car, and hope that you don't forget... Great for after the apocalypse, not so great for those days when you only drive back and forth to work.
Battery Isolator - Simple and affordable... sort of, if you want the basic model you can get a unit for about $45 at any auto supply store, but you're going to have a voltage drop over the isolator (its the price you pay for solid state diodes acting as a gate to your parallel batteries) On an isolator your batteries may never reach full charge. You can get a really nice setup with very little voltage drop from Hellroaring, but that'll set you back $150 or more for the isolator alone.
Solenoid - Cheap and only a little more difficult to setup than the isolator, but solenoids are mechanical, and more prone to trouble than the isolator, you don't have the voltage drop issues, but if the mechanical solenoid fails, you could be left with dead batteries, and good luck monitoring the system, "Is it charging? How do I install a monitoring system?".
ASR/VSR with combiner switch - This is the option I chose. It's as expensive as a Hellroaring unit, has all the reliability of an isolator, but you don't have any voltage drop issues, and the ASR I bought came with a combiner switch. It's pretty simple to install and you can use dissimilar batteries if you desire.
Lets talk about what it does. (Drawings from Blue Sea's website)
Car engine is off, no alternator current (Or one battery is really dead below 9.0V). Both batteries are independent and can't drain each other. One battery powers the starter and the other powers the accessories (Lights, stereo, everything else)
Car engine is running, alternator is providing charge. Both batteries are connected through the ACR, it allows them to charge.
One Battery is dead. The switch is set to "Combine Batteries" and you can jump-start yourself.
A word about cost: You "can" build this setup on a budget, note I said "can", not "should". I saw a lot of "$55 dual battery setups" on the internet, mine was more of a "$700 dual battery setup" the only thing I already had for this project were the tools. This is an understandably costly setup, thick 4 gauge cable, batteries and an ASR unit are not cheap items. You are welcome to be as frugal as possible, and if you already have one or two of the big ticket items you can really keep the cost down. I don't fancy using cheap parts for a system that can turn my car into a raging inferno if not properly done... I had the pleasure of starting from scratch and I'll tell you what I paid... (lets Hope my wife has stopped reading my blog!)
Parts List:
West Marine
ACR/Combiner Switch, Blue Sea Systems (the larger version) - $160
Dual Purpose AGM 55 West Marine Battery - $225
O'reillys Auto Parts
4 Gauge 20ft Jumper Cables - $35
2, 100 Amp Circuit Breakers - $75 ($35 each)
10 Amp Inline Fuse and Fuses - $15
2 Amp Inline Fuse and Fuses - $15
12 Gauge Wire - $7
Screw Post Battery Terminals - $7
4 Copper Cable Ends - $6
LED Indicator - $6
Various Crimps/Terminal Connectors - $15
5, Battery Connector Cables - $38 ($7 each)
Battery Tray and Battery Clamp - $20
Home Depot
Screws/Washers/Lock Washers/Nuts/Lag Bolts - $45
Pop Rivets - $12
Black Spray Paint - $7
Steel 4ft Bar - $9
Total - $697
A quick drawing of my setup, its pretty simple when you look at it this way.
This is before I started, as you can see the engine bay is really quite crammed to begin with. I didn't want to relocate any of the original engine configuration, so I studied the placement for a while to find the free space I needed.
I settled on a Dual Purpose AGM 55 battery from West Marine. You need an AGM battery inside the car to prevent spilling acid and off gassing of hydrogen. I didn't want to use the Optima batteries because I'd read unfavorable reviews/cost/ and the difficulty of finding a dual purpose Optima in stock locally. The AGM batteries can be installed on their side with no ill consequences, allowing me to better install my cabling system.
This Battery has more than enough CCA/MCA to fit my Subaru and its also sufficiently small enough to fit in the rear spare tire wheel well. (I'll be upgrading to a full size spare just as soon as one comes available at the nearest pick and pull lot)
I found a good place for the battery to sit and mounted the battery box with some 1/4 hex nuts (Use metric fasteners if you have the option, then you won't need two socket sets to work on issues), flat washers and lock washers. I drilled directly through the wheel well... Just make sure you're not drilling holes in your muffler.
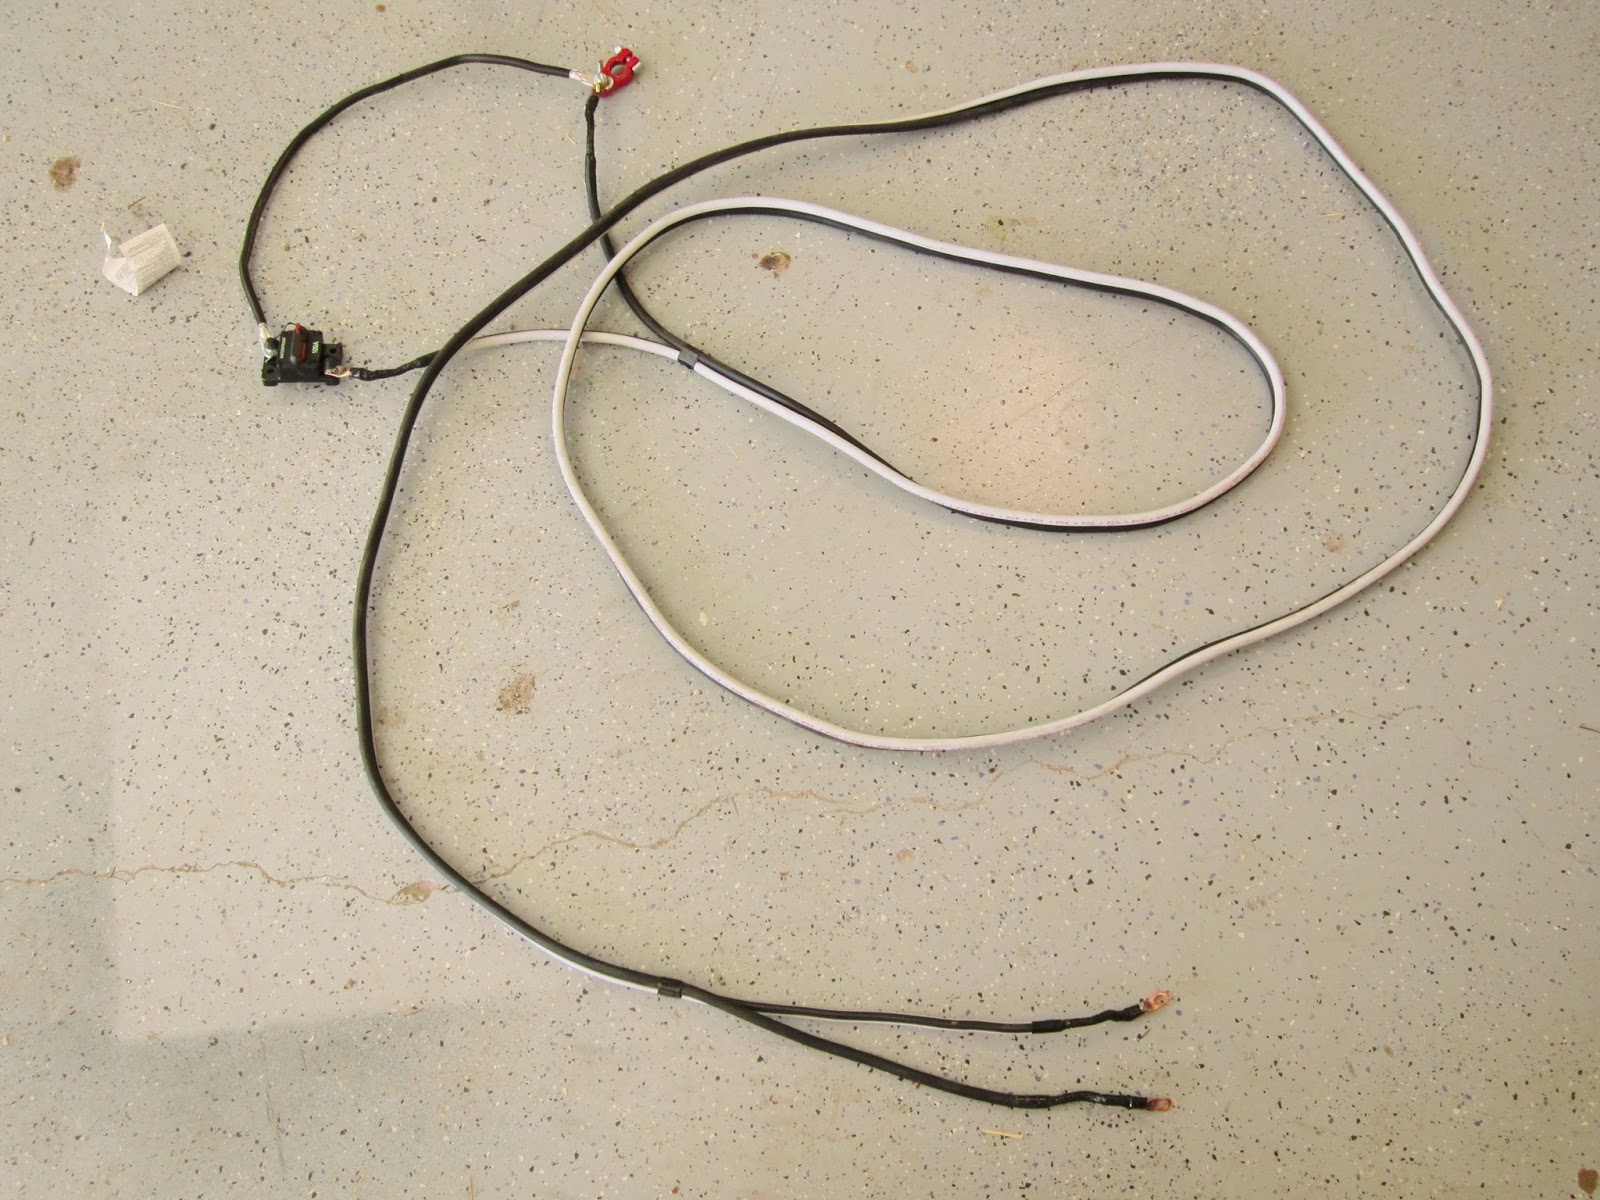
I hack-sawed the jumper clamps off of my 20ft 4 gauge jumper cable to make my cable harness. I put the little end connectors in a vise and filled them up with molten solder using a propane torch. This should give me a good solid connection between batteries. Heat shrink tubing would have looked better, but $3 of 3M electrical tape goes a lot further.
I settled on using circuit breakers rather than inline fuses. I won't debate the circuit breaker vs. fuse argument, but I will say that 100 Amp Inline Fuses are difficult to source locally and by the time you buy a quality fuse holder and fuse you will have spent about $25. Yes you can get 100 Amp fuses and holders or even circuit breakers online for about $5, but you take that risk...
Rear battery setup, I grounded my rear battery in the wheel well, and made sure that nothing could shift around and make contact with any thing else in the spare tire well.
I used the original mounting hardware for the spare tire to hold my mounting block for the circuit breaker. This is in case I want to convert the car back to stock in the future.
My cable goes up under the seats and comes out in this convenient accessory hole in the engine bay, which also has two smaller holes to mount my support brackets.
I wanted all the controls to be mounted under the hood. It's much simpler to mount everything in the wheel well, or in a plywood box in the trunk, but the extra time spent working to make the controls fit into the engine bay was well worth the effort. If you mount the setup in the trunk you will need to unload your car every time you need to access the controls or check the ACR status. I'd rather not unload all my gear into the mud so I can jump start the car and then need to reload everything in the trunk (I travel with a lot of gear, so this only adds injury to the insult of a dead battery). It's really satisfying to pop the hood, turn the switch and start the car.

My brackets mount onto the firewall where the accessory hole comes into the engine bay. This mount should be free from vibration which could loosen the connections over time. I spent the better part of a day fitting, cutting and bending the brackets to fit. This was by far the most difficult step, you will curse at the cramped spaces, and your brain will hurt from fitting, adjusting and re-fitting for hours on end. This job is best completed with help from someone periodically. I would have been unable to complete this build in a day without help from my lovely wife holding and tightening bolts.
Bottom of the bracket, held in place with pop rivets.
Top of the assembly before installing the ACR and Switch, I found it much easier to install the brackets and then bolt the Switch and ACR on after.
This is a simplified marine type switch, Line 1 (Starter and Battery) and 2 (Accessories/Alternator and Battery) are "on" in the on position, but remain separate circuits. In the Combine Batteries position, line 1 and 2 are combined in parallel, bypassing the ACR, to jump-start the car. Simple eh!
Add the optional LED remote monitoring wires so you can check the ACR status from inside the car. After all you spent all day installing this awesome system, you should be able to monitor it from the dry safety of your car interior, and after the previous install... this is really simple!
My 98 Subaru Outback electrical system is pretty simple, the original configuration lends itself to easy installation. The positive terminal on the original battery setup only uses two cables, one goes directly to the starter, and the other goes to the main fuse box (alternator, stereo, lights, etc).
I didn't install this into the dash because it was blinding me at night. I'll work on mounting options, and perhaps put in a red LED in a few days.
Before...
After...
I'm pretty happy with the way it turned out. In a bad situation I can still charge and run my electronics without burning fuel if necessary. I like the ability to jump-start myself and I have the added self reliance to drive the car about 2 hours on battery alone if the alternator fails.
Now I need a full size spare and a roof rack to strap it to...
This was a pretty hefty project, the idea and design are simple, but the devil is in the details. I spent two days wrangling this together, and it worked the first time I turned it on (Luck...) I wouldn't recommend this project for everyone. It's most likely overkill for anyone to install on their daily driver, but if you're considering a trip across the states where being stranded could be a real possibility and more of a real danger than a hassle you should look into dual batteries. I have AAA but remember, AAA can help you out of a bad situation... if you can contact them, and if you have time to wait.